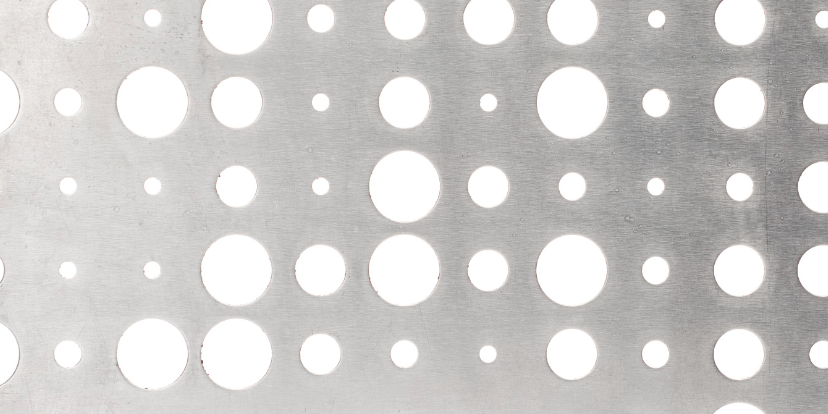
Installing an aluminium sheet can be an incredibly rewarding DIY project, especially with the right guidance and tools at your disposal. Whether you’re looking to create a robust feature for your home or need practical solutions for your business, understanding how to handle this versatile material is essential.
This guide provides you with step-by-step instructions to ensure your aluminium sheet Brisbane installation not only meets but exceeds expectations.
Why Choose Aluminium Sheets?
Aluminium sheets are favoured for their strength, durability, and corrosion resistance. These properties make them ideal for a wide range of applications, from automotive parts to building facades. In Brisbane, where conditions can vary from searing heat to torrential rain, aluminium proves to be a superior choice due to its ability to withstand harsh weather without deteriorating.
Preparing for Installation
Tools and Materials Needed:
- Aluminium sheet
- Measuring tape
- Marker
- Metal shears or circular saw with a metal-cutting blade
- Drill with metal drill bits
- Rivets or suitable fasteners
- Safety equipment: gloves, goggles, ear protection
Preparation Steps:
- Measure Your Space: Before purchasing your aluminium sheet in Brisbane, measure the area where it will be installed. Accuracy here prevents material wastage and ensures the sheet fits perfectly.
- Select the Right Sheet: Depending on your project, the thickness of the aluminium sheet can vary.
- For those in other regions, like obtaining an aluminium sheet in Perth or sheet metal in Melbourne, Meshstore can provide the right specifications and quality.
Step-by-Step Installation Guide
Step 1: Cutting the Aluminium Sheet
Using your measurements, mark the cutting lines on the aluminium sheet. Ensure your lines are clear and straight for a precise cut. Utilise metal shears for thinner sheets and a circular saw for thicker pieces. Always wear safety gear during this step to prevent injury.
Step 2: Drilling and Preparing Holes
Once your sheet is cut to size, mark the positions for the holes needed to secure the sheet. Drill the holes using a metal-specific bit, and be mindful to deburr the holes afterwards to remove any sharp edges.
Step 3: Positioning and Securing the Sheet
Align the aluminium sheet with the installation area. It’s crucial that the sheet sits flat and the holes align with the mounting points. Secure the sheet using rivets or screws, ensuring each fastener is tightened properly for a firm hold.
Step 4: Sealing and Finishing
For installations exposed to the elements, apply a silicone sealant around the edges of the sheet. This step prevents water ingress and enhances the overall durability of the installation.
Maintenance and Care
Maintenance and Care
To ensure the longevity of your aluminium sheet Brisbane installation, regular maintenance is essential. Clean the surface periodically with a mild detergent and water to remove any debris or buildup. Inspect the installation for any signs of wear or damage, especially after extreme weather conditions.
With the right tools and a bit of know-how, installing an aluminium sheet in Perth is a straightforward process that offers durable, long-lasting results. This DIY project not only adds value to your property but also provides a sense of achievement in mastering new skills.
Ready to start your project with high-quality aluminium sheets? Visit Meshstore today and explore our extensive range of perforated metal, wire, and mesh products.
Order now and transform your space with the strength and beauty of aluminium!
